How to File a Health Insurance Claim in Kenya

My friend's claim got rejected.
KES 85,000 hospital bill. Insurance wouldn't pay.
Why?
He forgot one document. One.
Filing health insurance claims in Kenya isn't hard.
But mess up one step, and you're paying out of pocket.
Here's exactly how to do it right.
Table of Contents
- The Two Types of Claims
- Cashless Claims: Step-by-Step
- Reimbursement Claims: Step-by-Step
- Required Documents (Complete Checklist)
- Common Reasons Claims Get Rejected
- How to Avoid Claim Rejection
- Emergency Claims (Special Case)
- Claim Timelines (What to Expect)
- What If Your Claim Is Rejected?
- Tips from Successful Claimants
- Insurer-Specific Claim Contacts
- Digital Claims (The Future)
- Common Mistakes People Make
- Final Checklist: Filing a Perfect Claim
- Next Steps
The Two Types of Claims
Type 1: Cashless (Pre-Authorized)
What it means: Hospital bills insurer directly. You walk out.
When to use: Planned treatments, in-network hospitals
Your cost: Just co-payment (if any)
Type 2: Reimbursement
What it means: You pay upfront. Submit receipts. Get refunded.
When to use: Emergency, out-of-network hospitals, some outpatient visits
Your cost: Full amount upfront (refunded later)
Most people prefer cashless. But sometimes reimbursement is necessary.

Cashless Claims: Step-by-Step
Step 1: Get Pre-Authorization (For Planned Treatments)
When you need it:
- Surgery
- Planned hospital admission
- Maternity
- Any treatment requiring overnight stay
How to do it:
-
Call insurer's hotline (number on insurance card)
-
Provide:
- Policy number
- ID number
- Hospital name
- Doctor's name
- Diagnosis
- Treatment plan
- Estimated cost
-
Wait for approval (12-48 hours, depending on insurer)
Pro tip: Apply 48-72 hours before treatment. Don't wait till last minute.
Step 2: Visit In-Network Hospital
Confirm hospital is in network:
- Check insurer's website/app
- Call hotline
- Ask at hospital reception
If out-of-network: You'll pay upfront and claim later.
Step 3: Present Your Insurance Card
At hospital reception, provide:
- Physical insurance card (or digital)
- National ID
- Pre-authorization number (if applicable)
Hospital will:
- Verify your cover with insurer
- Confirm treatment is covered
- Process you cashlessly
Step 4: Receive Treatment
What happens:
- Hospital provides treatment
- Bills insurer directly
- You pay co-payment only (if plan has it)
Common co-payments: 0-20% (depending on plan)
Step 5: Pay Co-Payment (If Applicable)
Example:
- Hospital bill: KES 100,000
- Co-payment: 10%
- You pay: KES 10,000
- Insurer pays: KES 90,000
Pay via M-Pesa, card, or cash.
Step 6: Get Discharge Summary
Before leaving, collect:
- Discharge summary
- Prescriptions
- Doctor's notes
- Invoice (showing what was paid)
Keep these. You might need them for follow-up claims.
Reimbursement Claims: Step-by-Step
Step 1: Pay Upfront
When this happens:
- Emergency (no time for pre-auth)
- Out-of-network hospital
- Ambulance
- Some outpatient visits
Keep ALL receipts.
Step 2: Collect Documents
You'll need:
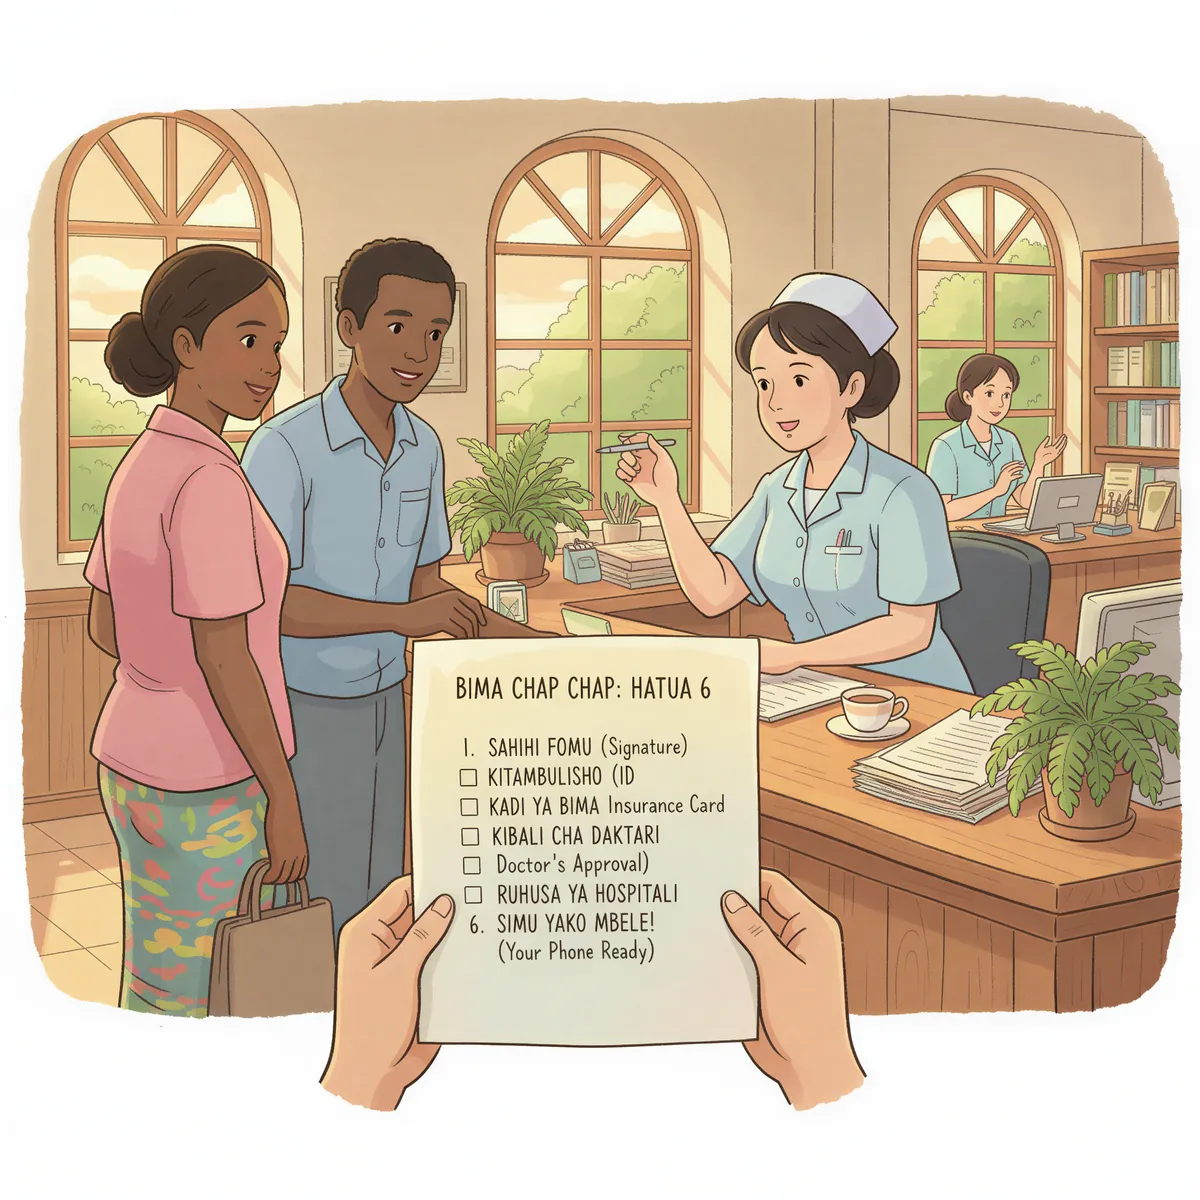
✔ Official receipts (stamped by hospital) ✔ Itemized bill (breakdown of costs) ✔ Discharge summary (or doctor's report) ✔ Lab results (if tests were done) ✔ Prescriptions (if medication prescribed) ✔ Copy of ID ✔ Claim form (from insurer)
Missing even ONE = claim delay or rejection.
Step 3: Fill Out Claim Form
Get the form:
- Download from insurer's website
- Pick up at insurer's office
- Request via email
Fill in:
- Personal details
- Policy number
- Diagnosis
- Treatment received
- Total cost
- Bank details (for refund)
Sign and date it.
Step 4: Submit Claim
Options:
Online: Upload via insurer's app/portal (fastest)
Email: Send scanned documents to claims@[insurer].com
Physical: Drop at insurer's office
WhatsApp: Some insurers accept via WhatsApp Business
Pro tip: Online is fastest. Always keep copies.
Step 5: Track Your Claim
Most insurers provide:
- Claim reference number
- Online tracking (via app/website)
- SMS updates
Typical timeline:
- Acknowledgment: 1-3 days
- Processing: 7-14 days
- Payment: 3-7 days after approval
Total: 10-21 days (average)
Step 6: Receive Payment
Payment via:
- Bank transfer (most common)
- M-Pesa (some insurers)
- Cheque (rare, old-school)
Check your account. Confirm amount matches claim.

Required Documents (Complete Checklist)
For Inpatient Claims
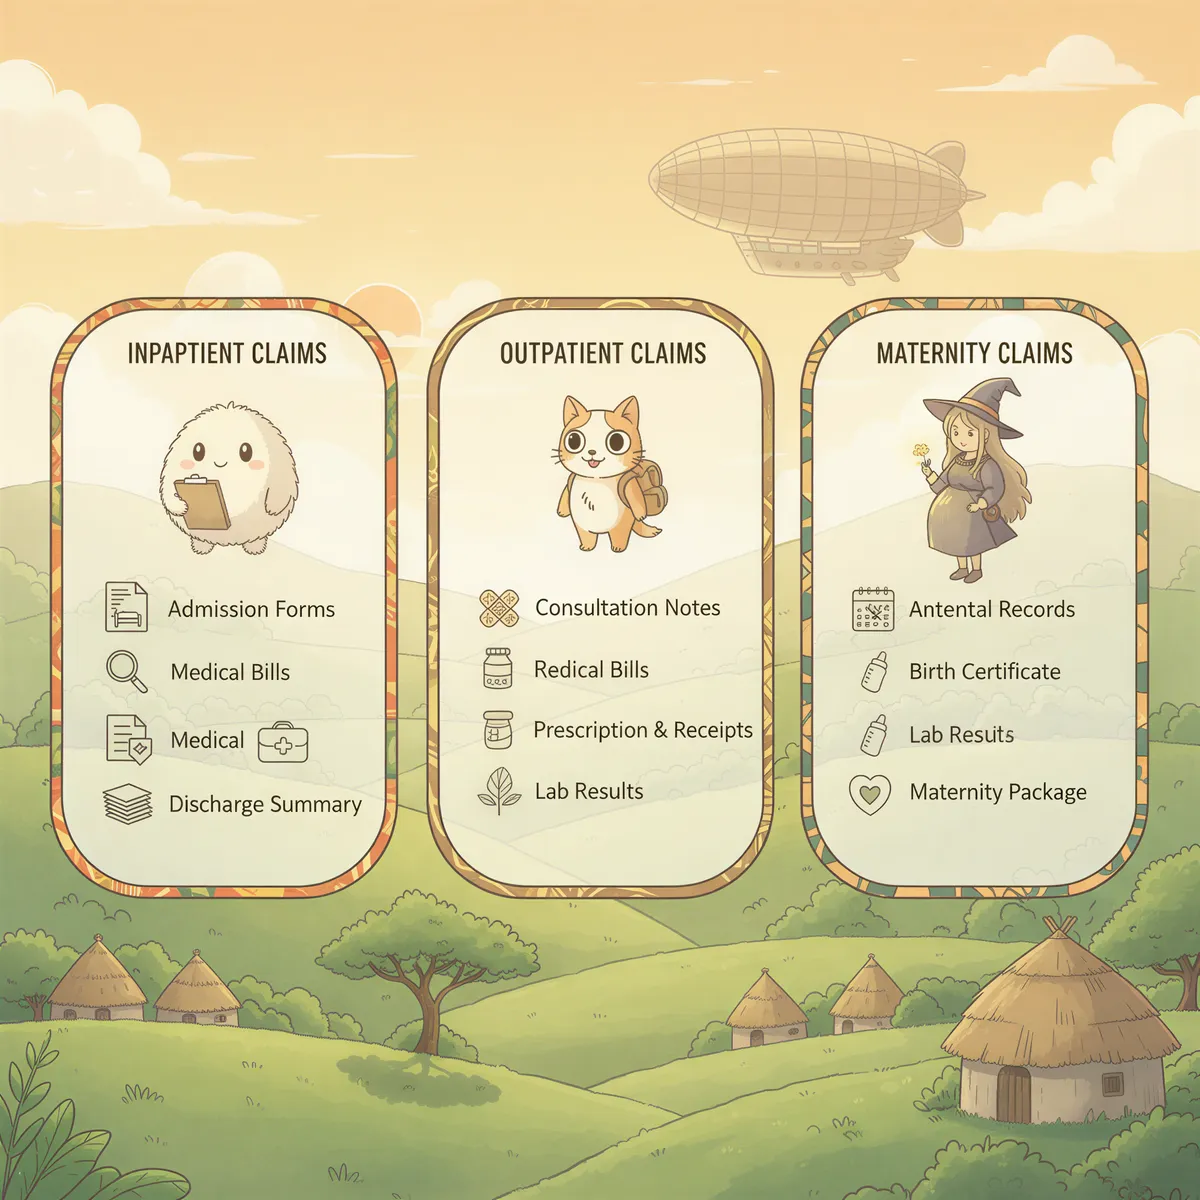
✔ Insurance card ✔ National ID (copy) ✔ Pre-authorization letter (if planned) ✔ Hospital admission form ✔ Discharge summary ✔ Doctor's notes ✔ Itemized bill ✔ Official receipts ✔ Lab/test results ✔ Claim form (for reimbursement)
For Outpatient Claims
✔ Insurance card ✔ National ID (copy) ✔ Doctor's consultation notes ✔ Prescription (if medication given) ✔ Official receipt ✔ Lab results (if tests done) ✔ Claim form
For Maternity Claims
✔ All inpatient documents (above) ✔ Antenatal checkup records ✔ Delivery notes ✔ Baby's birth notification ✔ Post-natal records
Common Reasons Claims Get Rejected
Reason 1: No Pre-Authorization (34%)
Example: You had planned surgery but didn't get pre-auth.
Solution: Always get pre-auth for planned treatments.
Reason 2: Treatment Not Covered (25%)
Example: Cosmetic surgery, experimental treatment, excluded condition.
Solution: Confirm coverage before treatment.
Reason 3: Out-of-Network Hospital (18%)
Example: Went to hospital not in insurer's network.
Solution: Check hospital network before admission.
Reason 4: Missing Documents (12%)
Example: No discharge summary or official receipt.
Solution: Collect ALL documents before leaving hospital.
Reason 5: Pre-Existing Condition (During Waiting Period) (8%)
Example: Claimed for diabetes in month 8 (waiting period: 12 months).
Solution: Wait for waiting period to end.
Reason 6: Policy Lapsed (3%)
Example: Didn't pay renewal premium. Policy inactive.
Solution: Keep policy active. Set renewal reminders.

How to Avoid Claim Rejection
Tip 1: Always get pre-authorization for planned treatments
Tip 2: Confirm hospital is in-network
Tip 3: Collect all documents before leaving hospital
Tip 4: Fill claim form completely (no blank fields)
Tip 5: Submit within claim submission deadline (usually 30-90 days)
Tip 6: Keep copies of everything
Tip 7: Follow up if claim takes longer than 21 days
Emergency Claims (Special Case)
What counts as emergency:
- Accident
- Heart attack
- Stroke
- Severe bleeding
- Difficulty breathing
- Loss of consciousness
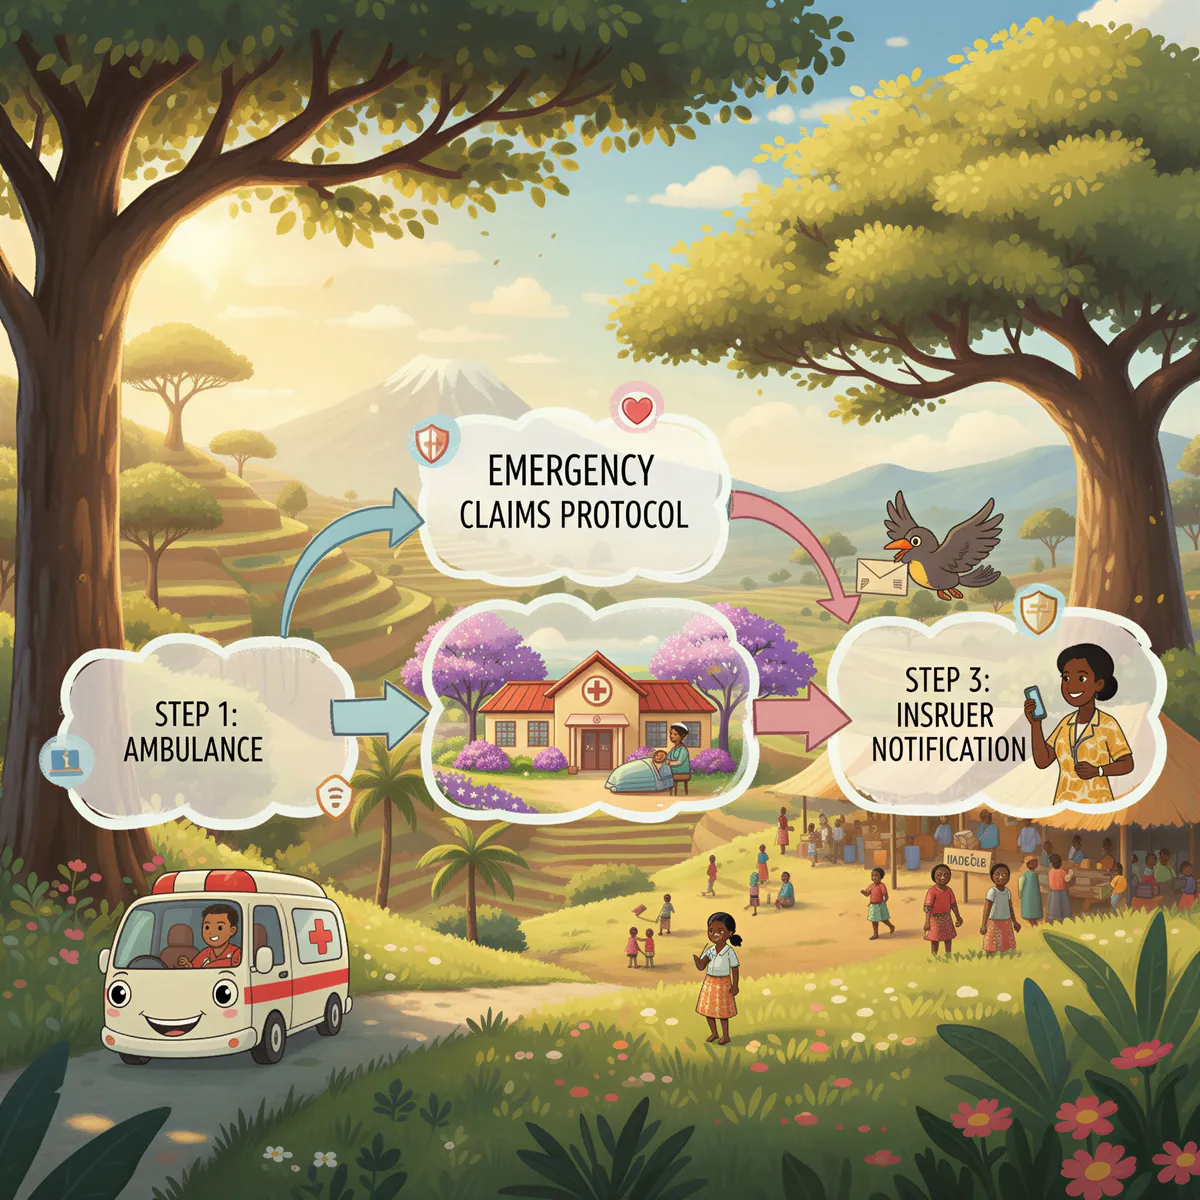
What to do:
- Go to nearest hospital (don't worry about network)
- Get treated
- Call insurer within 24 hours (notify them)
- Collect all documents
- Submit claim within 30 days
Most insurers cover emergencies even at out-of-network hospitals.
But you must notify within 24 hours.
Claim Timelines (What to Expect)
Cashless Claims
Pre-authorization: 12-48 hours Treatment: Same day Payment to hospital: Insurer handles directly
Total: 1-3 days (from pre-auth to treatment)
Reimbursement Claims
Submit: Day 1 Acknowledgment: Day 1-3 Processing: Day 4-14 Approval: Day 15 Payment: Day 18-21
Total: 10-21 days (from submission to payment)
Delays happen if:
- Missing documents
- Unclear diagnosis
- High claim amount (requires manager approval)
- Holiday periods
What If Your Claim Is Rejected?
Don't panic.
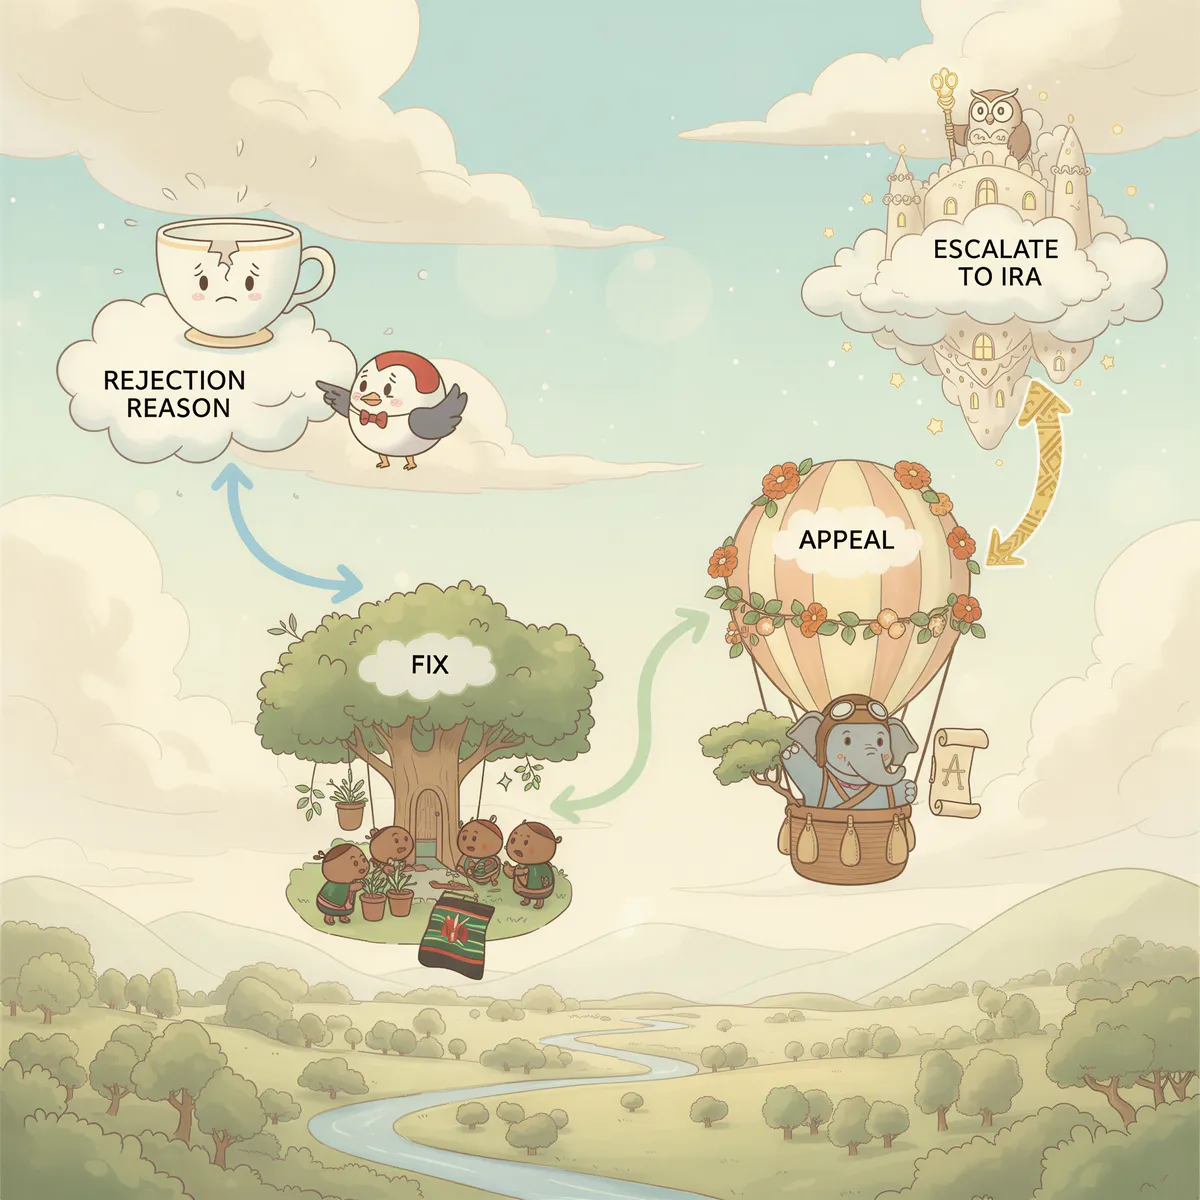
Step 1: Request Rejection Reason
Call insurer. Ask:
- Why was it rejected?
- What documentation is missing?
- Can I appeal?
Step 2: Fix the Issue
If missing documents: Submit them
If out-of-network: Explain emergency (if applicable)
If denied coverage: Check your policy exclusions
Step 3: Appeal
How to appeal:
- Write formal appeal letter
- Attach:
- Original claim documents
- Rejection letter
- Additional supporting documents
- Doctor's letter (if medical justification needed)
- Submit to insurer's appeals department
Appeal timeline: 14-30 days
Success rate: ~40% (if you have valid grounds)
Step 4: Escalate to IRA
If appeal fails:
File complaint with Insurance Regulatory Authority (IRA)
How:
- Online: ira.go.ke
- Email: info@ira.go.ke
- Phone: +254 20 499 8000
IRA investigates. Insurer must respond.
Tips from Successful Claimants
Tip 1: "I always take photos of all documents before submitting. Saved me twice." — Jane, 38
Tip 2: "Get the claim reference number. Track it daily." — Peter, 45
Tip 3: "Call the hospital billing department. They know what insurers need." — Mary, 41
Tip 4: "Submit online. Way faster than physical." — David, 34
Tip 5: "Keep a claims folder (physical + digital). Helps at renewal." — Grace, 50
Insurer-Specific Claim Contacts
AAR Insurance
- Hotline: 0703 037 000
- Email: claims@aar.co.ke
- App: AAR Insurance App
Jubilee Health
- Hotline: 0709 968 000
- Email: jhi@jubileekenya.com
- App: Jubilee Mobile
Britam Health
- Hotline: 0730 144 000
- Email: healthclaims@britam.com
- App: myBritam
Resolution Health
- Hotline: 0709 290 000
- Email: claims@resolutionhealthea.com
- App: Resolution Health App

Digital Claims (The Future)
Most insurers now offer:
✔ Upload claims via app ✔ Real-time tracking ✔ Instant pre-authorization (some insurers) ✔ E-receipts (paperless) ✔ M-Pesa payouts (faster)
Best digital claims experience:
- Resolution Health (best app)
- Britam (fast approvals)
- AAR (improving)
- Jubilee (functional but basic)

Common Mistakes People Make
Mistake 1: Not getting pre-authorization for planned surgery
Mistake 2: Losing receipts
Mistake 3: Waiting 60+ days to submit claim (deadline missed)
Mistake 4: Not following up on pending claims
Mistake 5: Going to out-of-network hospitals (when in-network available)
Final Checklist: Filing a Perfect Claim
✔ Get pre-authorization (if planned treatment) ✔ Confirm hospital is in-network ✔ Present insurance card at admission ✔ Collect ALL documents before discharge ✔ Fill claim form completely ✔ Submit within 30 days ✔ Track your claim ✔ Follow up if delayed ✔ Keep copies of everything
Do this, and your claim will sail through.
Next Steps
- Save insurer's claim hotline in your phone
- Download claim form (keep PDF on phone)
- Know your policy number (memorize or save)
- Bookmark insurer's claims portal
- Set up online account (for tracking)
Filing claims isn't rocket science.
It's just:
- Get pre-auth (if needed)
- Collect documents
- Submit
- Track
- Get paid
Follow the process. You'll be fine.
Start Generating Quotes in Minutes
Compare quotes from Kenya's leading insurers and send a client a proposal in under a minute.
No credit card required.
Get quotes from 40+ underwriters in under 30 seconds.
All quotes meet Insurance Regulatory Authority standards.
Never miss a commission payment with automatic tracking.